Graphical Session (Wayland/X11)
InterGenOS 1.0-dev (build id v1.0-dev1) ships GNOME 49 on Wayland as its graphical session. This is the desktop you get today on every install. It is fast, modern, and built to respect your control of the machine: no telemetry, no app-store analytics, and no software that updates itself without you.
The desktop is part of that posture, not separate from it: every system service is confined by AppArmor and systemd isolation from first boot, and Wayland’s per-window isolation means one application cannot key-log another or scrape another window’s pixels.
The display protocol
Wayland is the default and only graphical protocol used for the GNOME session. Every GNOME application ships with native Wayland support.
X11 applications are not left out. Compatibility is provided through Xwayland, a translation layer that runs automatically when an X11 application needs it. You do not configure it or start it by hand: when a legacy application launches, Xwayland is there.
Why Wayland is the default:
- Per-window isolation. Each application sees only its own input and pixel buffer.
- Modern input handling. HiDPI, variable refresh rate, mixed-DPI multi-monitor, and touch/gesture input work because the protocol was designed for them.
- No screen tearing. Every frame is composited through the display server.
- Future-proof. GNOME, Firefox, and the broader Linux desktop are standardizing on Wayland.
Logging in
The graphical session begins at the GDM greeter, where you select your user and authenticate. After login, GDM hands off to the GNOME 49 Wayland session.
The default layout
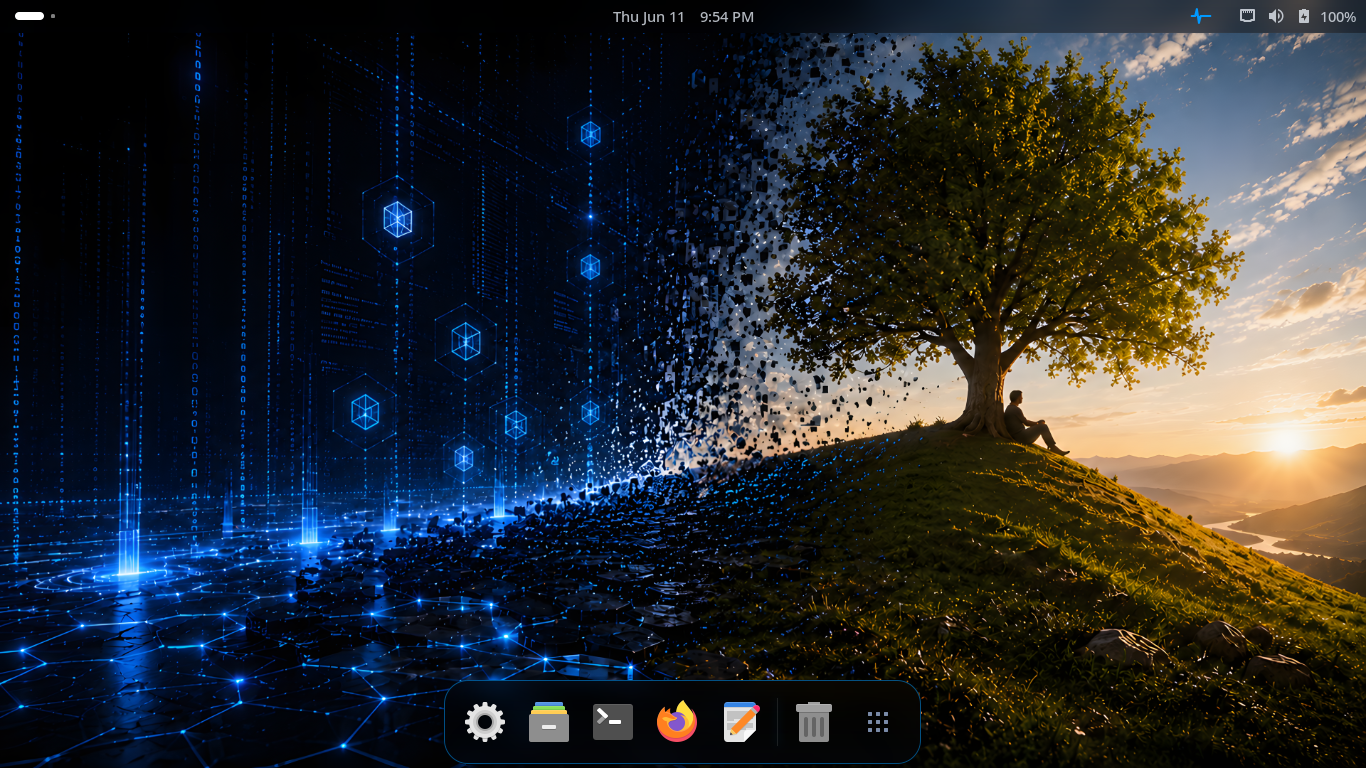 The default GNOME 49 desktop with the InterGenOS visual language and a bottom application dash.
The desktop is tuned with the InterGenOS visual language: a system-wide prefer-dark color scheme, the Papirus-Dark icon theme (chosen for broad application coverage), and the Bibata-Modern-Classic cursor. A Cybernetic Blue icon theme ships as a featured alternate, selectable from Settings -> Appearance. System typography is Inter for UI and documents, paired with JetBrains Mono for the terminal and code surfaces.
The Adwaita widget theme is the GTK4 baseline, customized through a GSettings override applied at session start, so the look is consistent across core GNOME apps and third-party GTK4 applications installed through pkm.
The Activities overview and application grid
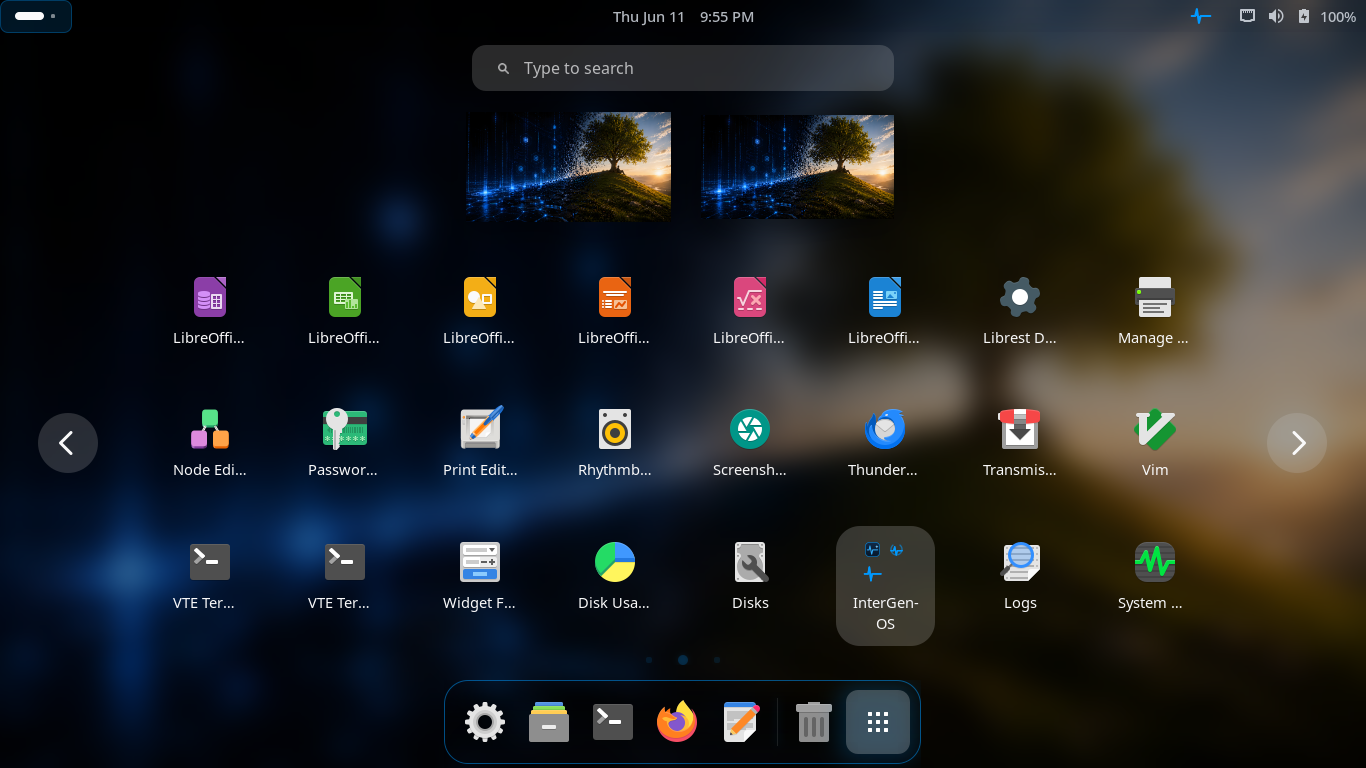 The Activities overview with the application grid, search field, and workspace thumbnails.
Press the Super key (the Windows key on most keyboards) to open the Activities overview. Open windows, workspace thumbnails, the application dash, and a search field are all visible at once. Start typing to search applications, settings, and files; click an icon in the grid to launch.
Alternate panel layout
InterGenOS also ships a panel-style layout for users who prefer a classic, taskbar-driven desktop with a traditional application menu.
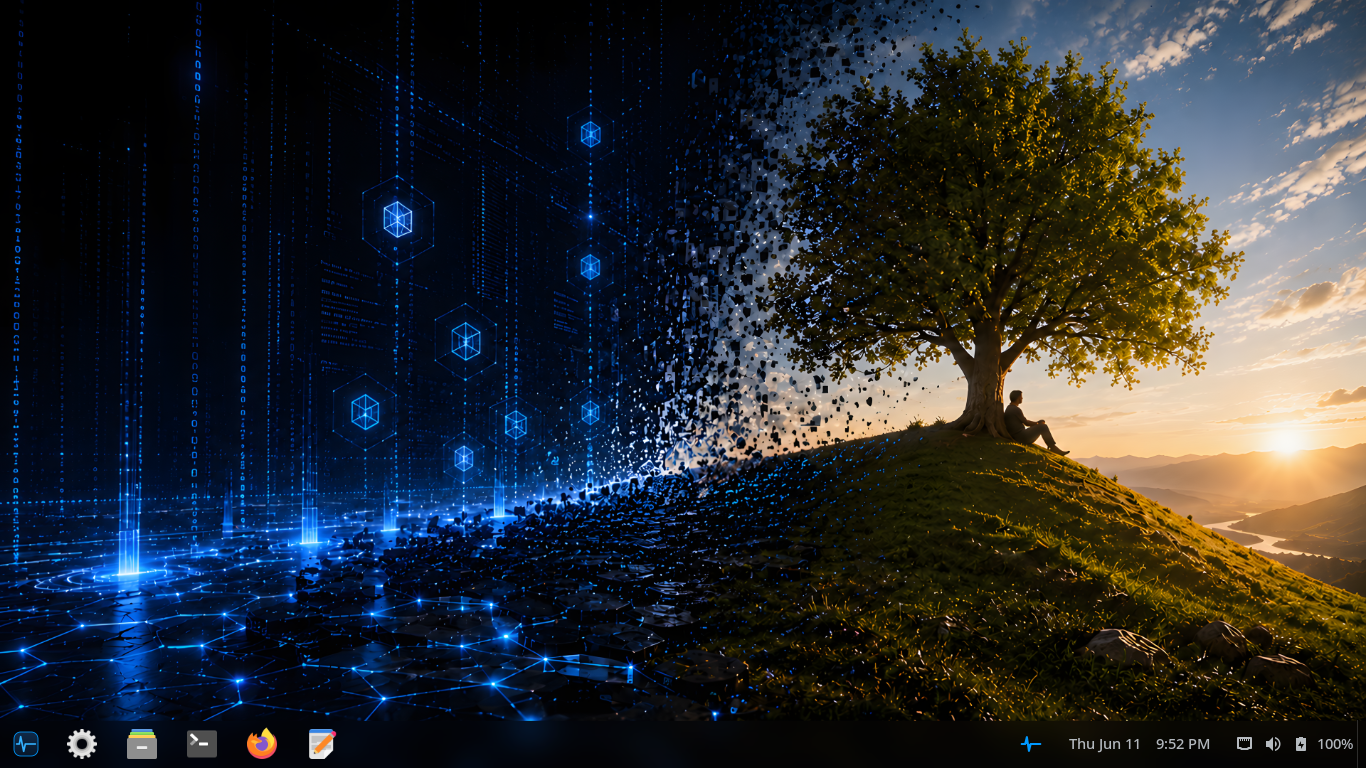 A panel-style layout with a bottom taskbar showing pinned and running applications, the system tray, and the clock.
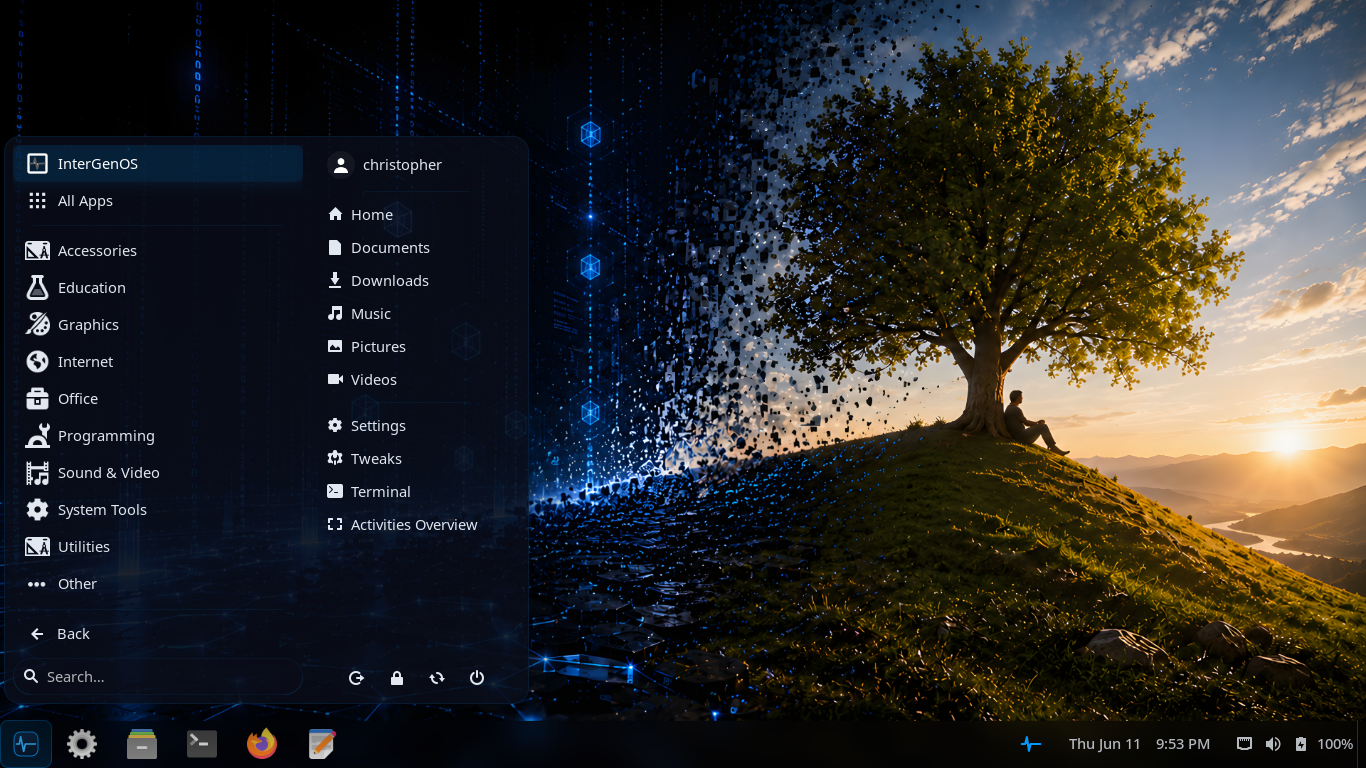 The categorized application menu with places shortcuts, Settings, and session controls.
This menu organizes applications by category (Accessories, Education, Graphics, Internet, Office, Programming, Sound & Video, System Tools, and more), surfaces your home folders and Settings on the right, and provides session controls. It is a familiar metaphor for users coming from a Windows-style or traditional Linux desktop.
Keyboard shortcuts
| Shortcut | Action |
|---|---|
Super | Open Activities overview |
Super + Tab | Switch between open applications |
Super + ` | Switch between windows of the same application |
Ctrl + Alt + T | Open the terminal |
Super + L | Lock screen |
Super + Left/Right | Tile window to the left or right half of the screen |
Super + Up/Down | Maximize or restore the window |
Super + Shift + Arrow | Move window to adjacent monitor |
Ctrl + Alt + Del | Power off / restart dialog |
Alt + F2, then r, then Enter | Restart GNOME Shell (without logging out) |
Multi-monitor, gestures, and accessibility
- Multi-monitor. GNOME 49 handles mixed-DPI and mixed-refresh-rate setups without configuration. Hot-plug a monitor and it works immediately.
- Gestures. Three-finger swipe to switch workspaces, pinch-to-zoom in compatible applications, and touch scrolling on touchscreen hardware.
- Accessibility. Orca screen reader, on-screen keyboard, high-contrast theme, and large-text mode are built in and enabled from the Accessibility panel in Settings.
Hardware acceleration
The graphical session is accelerated through the Mesa graphics stack for AMD (Radeon) and Intel (Arc, Iris, UHD) GPUs:
- OpenGL and OpenGL ES through
radeonsi(AMD) andiris/crocus(Intel) - Vulkan through
radv(AMD) andanv(Intel) - VA-API hardware video decoding through
radeonsiandintel-media-driver - Compute (OpenCL) through
rusticl
All Mesa drivers are installed and enabled by default. GNOME Shell selects OpenGL or Vulkan automatically.
NVIDIA’s proprietary driver is not shipped by default. It is available as an explicit opt-in through pkm install nvidia, offered only on hardware with an NVIDIA GPU present, and presents the NVIDIA license for acceptance before installing.
No boot splash, by design
InterGenOS does not paint a logo over boot. There is no Plymouth splash between the bootloader and the greeter. You see the kernel hand off to systemd, each service report [OK] or [FAILED], your network come up, and AppArmor load. If something fails — a broken mount, an odd module load, a hardware quirk — you see it immediately. This is a security signal, not a polish gap.
On the roadmap (not in this build)
These are roadmap items. They are not part of 1.0-dev today, and you should not expect them in the current image:
- KDE Plasma (Qt6) and other switchable desktop environments. The planned design lets you install an additional desktop through pkm and select it at the greeter, with no reinstall.
The desktop you run today is GNOME 49 on Wayland.
Where this fits
InterGenOS is a built-from-source distribution: a machine you understand, can modify, and can trust. The desktop tier is one of six build tiers (toolchain, core, base, desktop, ai, extra) assembled across the 20-phase build. Package counts drift as the system grows; to see what is installed on your own machine, query pkm rather than relying on a fixed figure.