FORGE Installation Guide
FORGE is the InterGenOS installer. It takes you from the live environment to a deployed, bootable, configured system on your target disk. This page walks through the graphical installer screen by screen, in the order you encounter them.
Before any data is written to disk, FORGE runs a verification gate that checks the cryptographic integrity of every package archive against the signed release manifest. If anything fails to match, the install halts before partitioning. Nothing is committed to your disk until you reach the confirmation screen and click Install.
InterGenOS is a built-from-source Linux distribution where security is not first. It is only. The installer is part of that: a machine you understand, can modify, and can trust starts with an install flow that tells you exactly what it is doing.
FORGE also ships a text-based (TUI) frontend for headless and SSH installs. It collects the same choices and runs the same backend. This guide documents the GTK4 graphical wizard.
Step 0 — Boot menu

The boot menu, the first screen after you boot the install media. Select “Install InterGenOS (Graphical)” to follow this guide.
When you boot the InterGenOS media you land here first. The menu is served by a signed GRUB, and selecting an entry hands off to a signed Unified Kernel Image (UKI) — the boot path is verified end to end. Try InterGenOS boots the live GNOME session (you can also launch FORGE from there); the two Install entries start the installer directly. Advanced options holds “Boot from first hard disk” and “UEFI firmware setup”. This guide follows Install InterGenOS (Graphical).
The live GNOME session and, after installation, your first login both land on the InterGenOS greeter:
The InterGenOS greeter — the themed GNOME login screen, carrying the project creed.
Step 1 — Welcome

The FORGE welcome screen. Click “Let’s begin” to start the wizard.
The first screen introduces the installer and confirms what you are about to do: build a machine from source, with every default verified before install. Click Let’s begin to start.
Step 2 — Language and keyboard
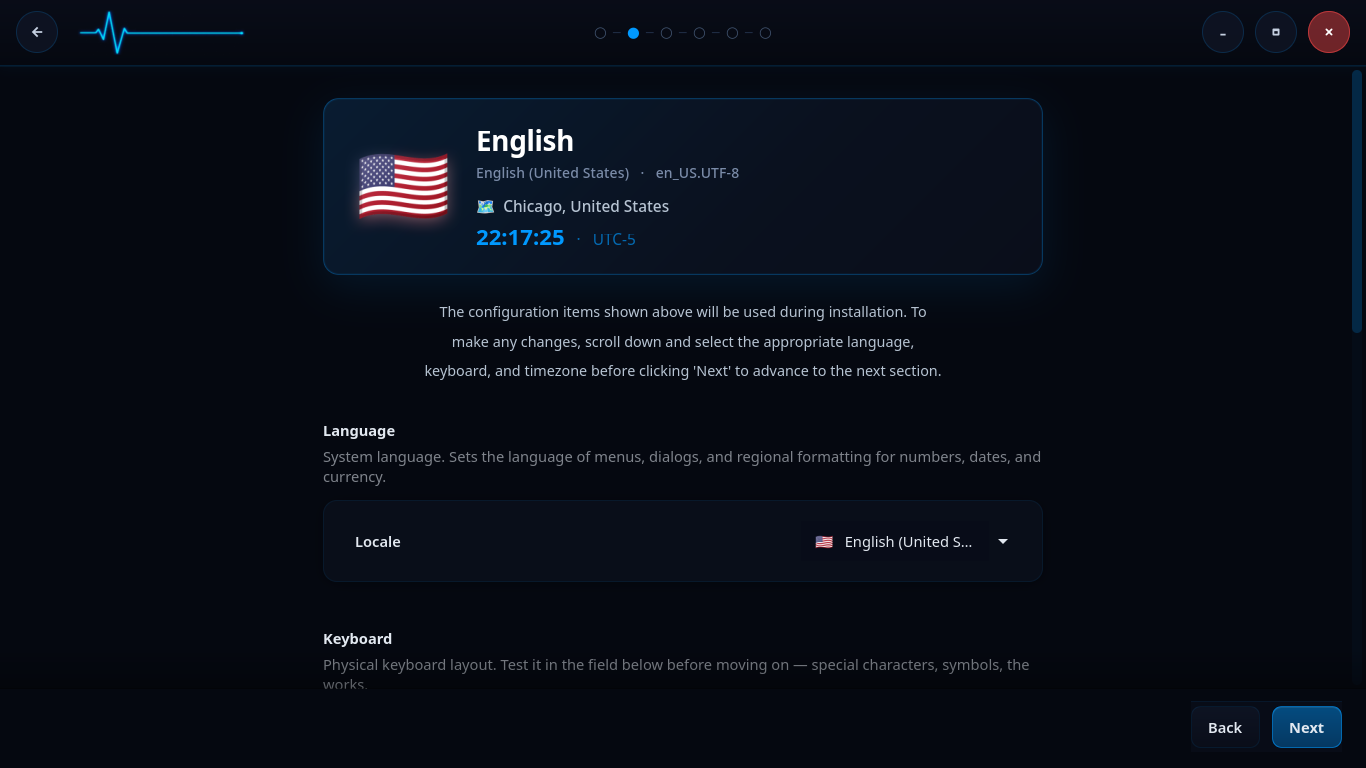
Language, locale, and keyboard selection. The summary card at the top reflects your current choices.
This screen sets your system language, locale, and keyboard layout. The card at the top summarizes the active configuration (for example, English (United States), en_US.UTF-8).
- Language sets the language of menus, dialogs, and regional formatting for numbers, dates, and currency.
- Keyboard sets the physical keyboard layout. A test field lets you confirm that special characters and symbols type the way you expect before moving on.
Scroll down to change any item, then continue on the same screen to set your timezone.
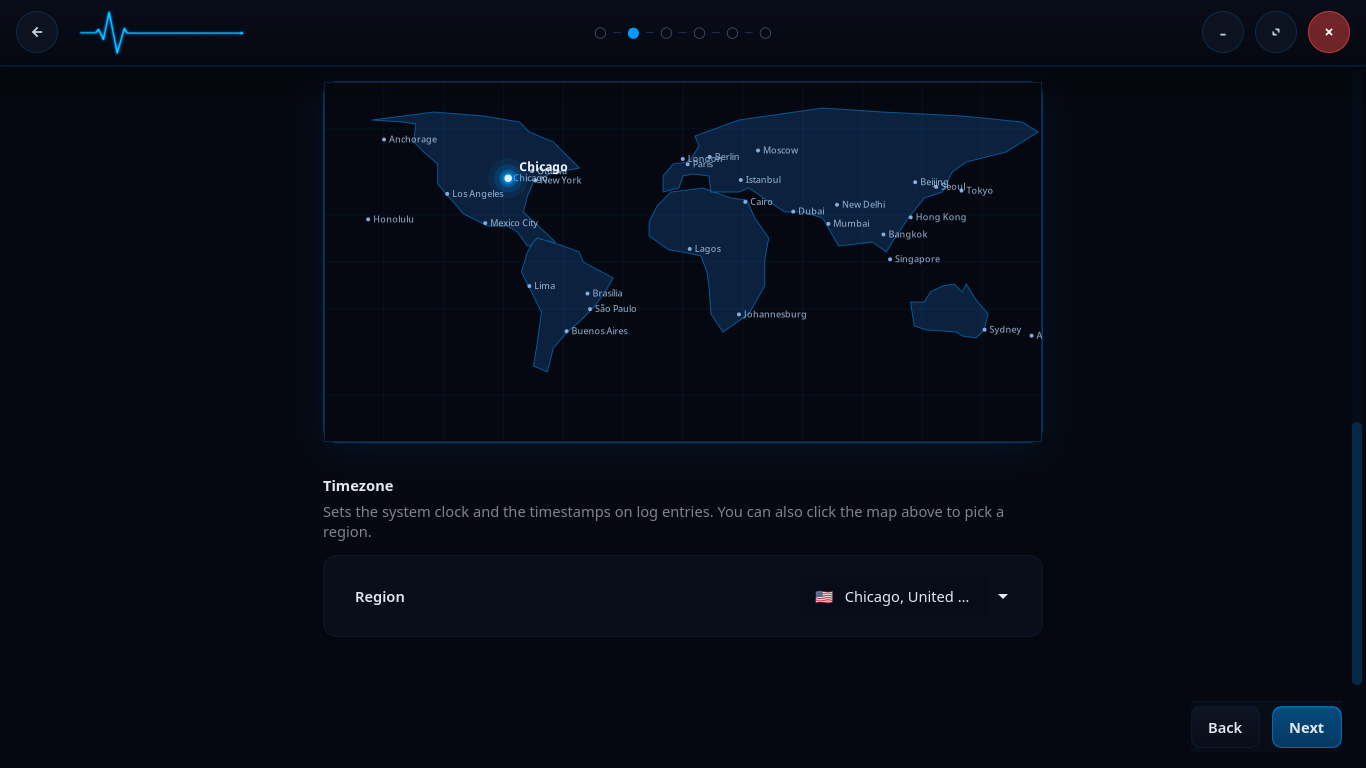
Timezone selection. Click the map or use the Region dropdown to set the system clock.
The timezone you pick sets the system clock and the timestamps on log entries. Click a region on the map or choose it from the Region dropdown. When the language, keyboard, and timezone are correct, click Next.
Step 3 — Disk and encryption
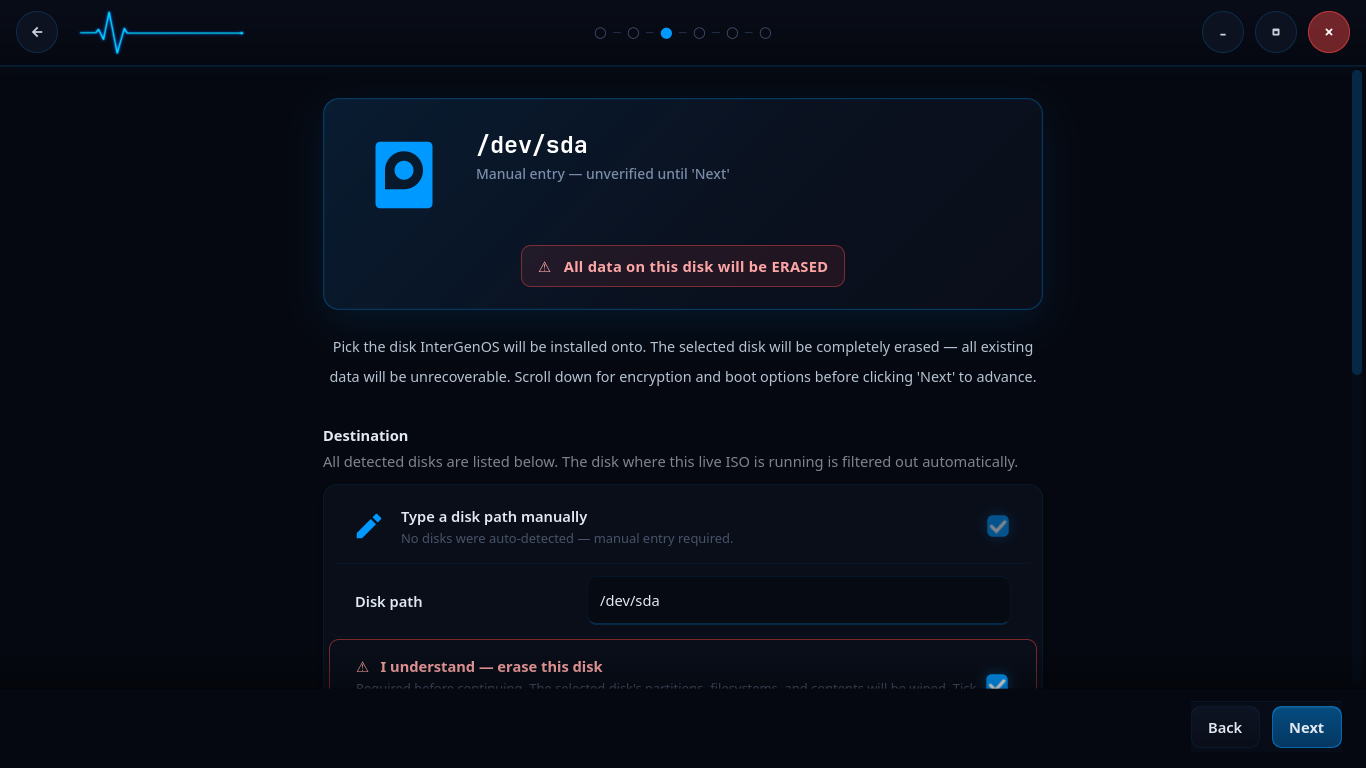
Disk selection. The selected disk will be completely erased. The disk hosting the live ISO is filtered out automatically.
Pick the disk InterGenOS will be installed onto. The selected disk is completely erased — all existing data on it becomes unrecoverable. A red warning banner states this plainly, and you must tick I understand — erase this disk before you can continue.
- All detected disks are listed under Destination. The disk the live ISO is running from is filtered out automatically.
- If no disks are auto-detected, you can tick Type a disk path manually and enter a path such as
/dev/sda. A manual entry stays marked “unverified until ‘Next’” until the installer validates it.
Full-disk encryption (optional)
Scrolling down on this screen reveals the encryption and boot options. Full-disk encryption is opt-in, not the default — FORGE asks, and you choose. Ticking Encrypt the root filesystem with LUKS2 turns it on.
If you enable encryption:
- FORGE prompts for a passphrase with a confirmation field. A live strength label appears as you type. The guidance is a soft warning, not a hard block: 8 characters is the floor below which the warning fires, and 12 characters with at least two character classes is the recommended baseline. You can accept a passphrase that fires the warning after confirming.
- The target partition is formatted with LUKS2 using
cryptsetup. Forge explicitly forces the memory-hardargon2idkey-derivation function (resistant to GPU and ASIC brute force); the cipher is cryptsetup’s default of AES-256 in XTS mode, which Forge does not override. - Your passphrase is never written to disk outside the LUKS header slot itself, never logged, and never sent anywhere. There is no recovery-key escrow and no master key. If you forget the passphrase, the data is gone. This is by design.
Two unlock methods are wired as EXPERIMENTAL v1.0 sub-options that compose with the passphrase: TPM2-sealed unlock and FIDO2-token unlock. Both add an additional LUKS key slot alongside the passphrase slot — the passphrase slot is always retained as the unconditional fallback. For the full encryption model, boot-time unlock flow, and recovery procedures, see the full-disk encryption documentation.
When the disk and encryption choices are set, click Next.
Step 4 — User accounts and Secure Boot
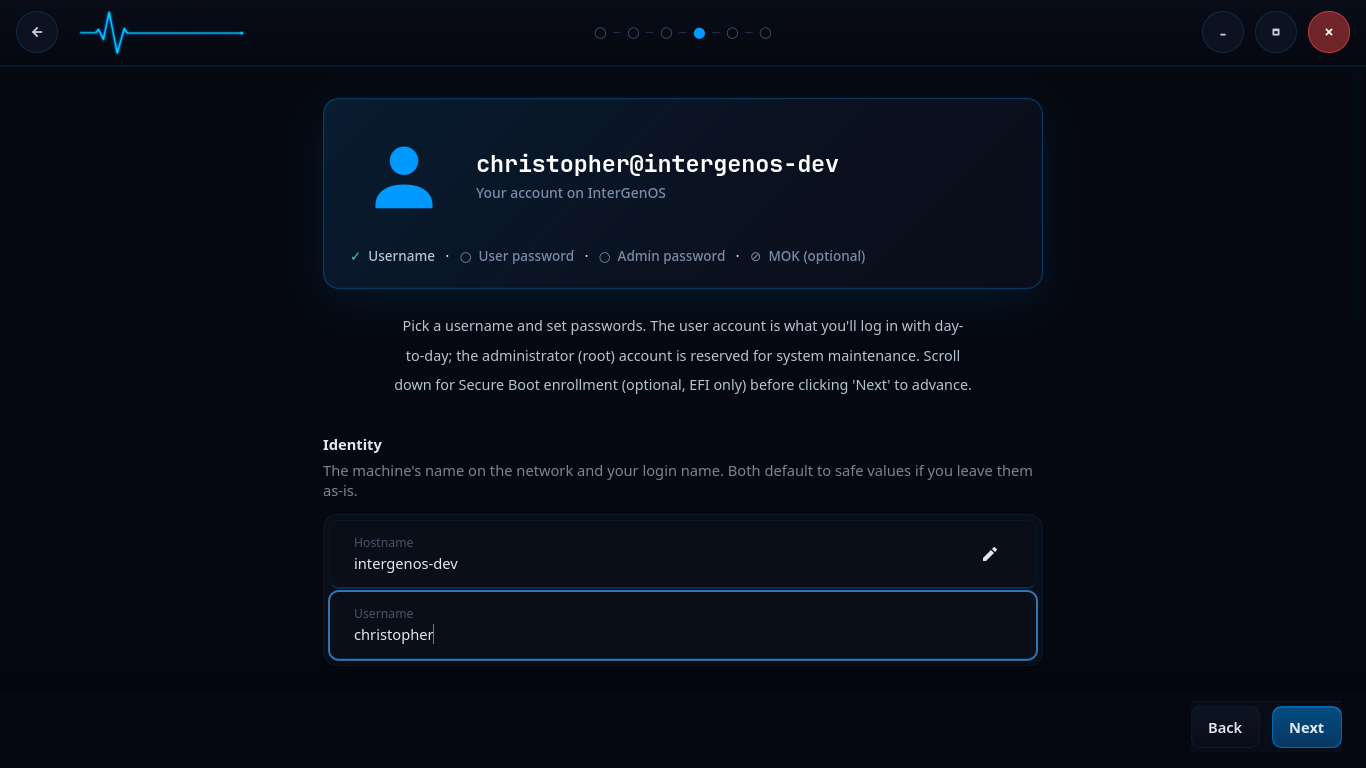
Identity setup. Pick a hostname and username; both default to safe values if left as-is.
This screen sets up your accounts. The card at the top tracks four items: Username, User password, Admin password, and the optional MOK enrollment password.
Under Identity you set:
- Hostname — the machine’s name on the network.
- Username — the unprivileged account you log in with day to day.
Both default to safe values if you leave them as-is.

Administrator password and optional Secure Boot (MOK) enrollment.
Scrolling down reveals the password and Secure Boot fields.
- Administrator sets the root password, used only for system maintenance via
sudo. Pick a different password from your user account; minimum 8 characters. A strength indicator confirms when the password passes the minimum recommendation. - Secure Boot enrollment is optional and applies to EFI systems only. The MOK enrollment password is a one-time password you type at first boot when MokManager prompts you to register your per-machine Machine Owner Key (MOK) with the firmware. Leave it empty to skip; you can re-enroll later with
mokutil. A link to the first-boot walkthrough explains the MokManager prompts and the recovery procedure if enrollment fails.
When your accounts are set, click Next.
Step 5 — Package groups
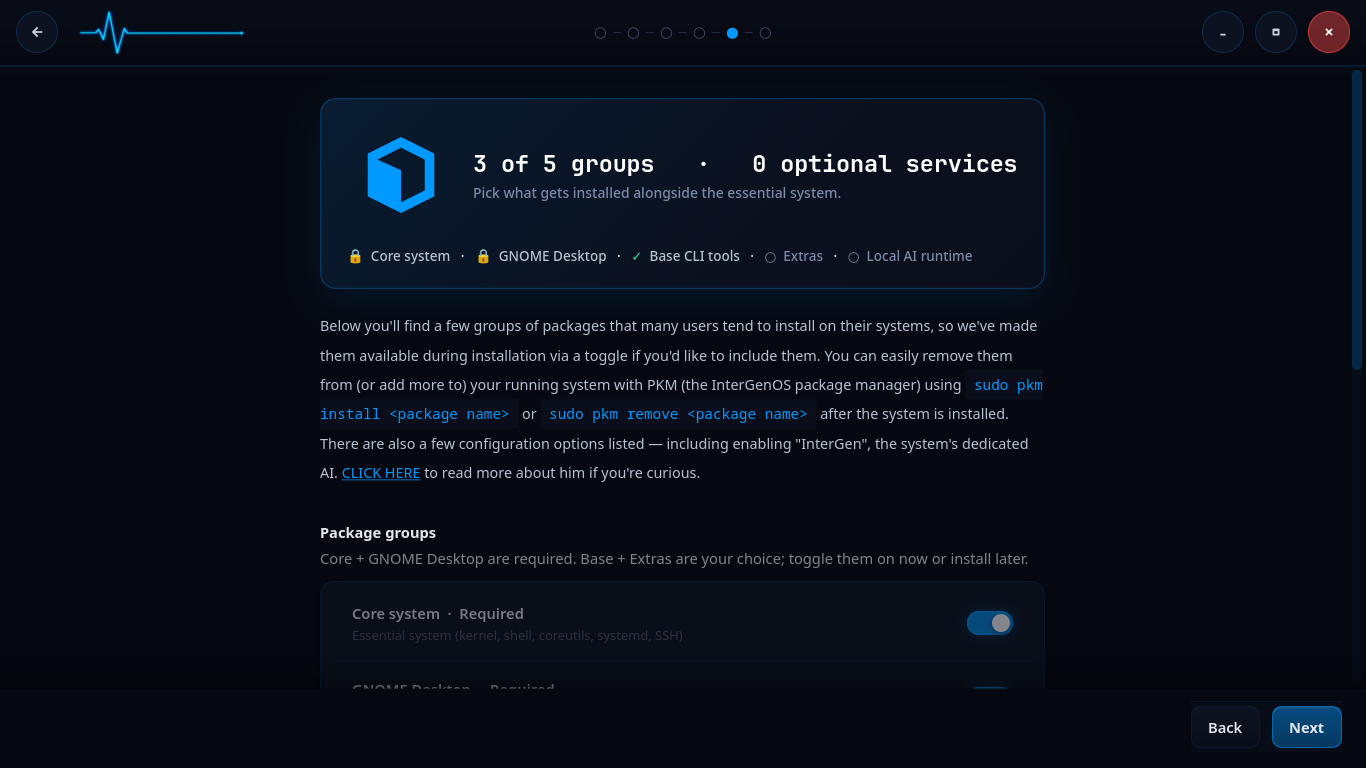
Package group selection. Core and GNOME Desktop are required; Base, Extras, and the local AI runtime are optional.
Here you pick what gets installed alongside the essential system. The packages are organized into groups. As of this build, InterGenOS spans roughly 850-plus packages across six tiers (toolchain, core, base, desktop, ai, and extra); these counts drift between builds, so derive the live numbers from the manifest rather than relying on a fixed figure.
The groups shown on this screen:
- Core system — Required. The essential system: kernel, shell, coreutils, systemd, SSH. Locked on.
- GNOME Desktop — Required. The desktop environment. InterGenOS ships GNOME 49 on Wayland. Locked on.
- Base CLI tools — optional command-line utilities.
- Extras — optional additional packages.
- Local AI runtime — optional. This enables InterGen, the system’s tiered, hardware-detected, offline-first local assistant (Qwen models, zero telemetry). The screen links to more detail about it.
You can toggle the optional groups on now or install them later. Everything is also available afterward on the running system through pkm, the InterGenOS package manager, with sudo pkm install <package name> or sudo pkm remove <package name>. When your selection is set, click Next.
Step 6 — Review and confirm
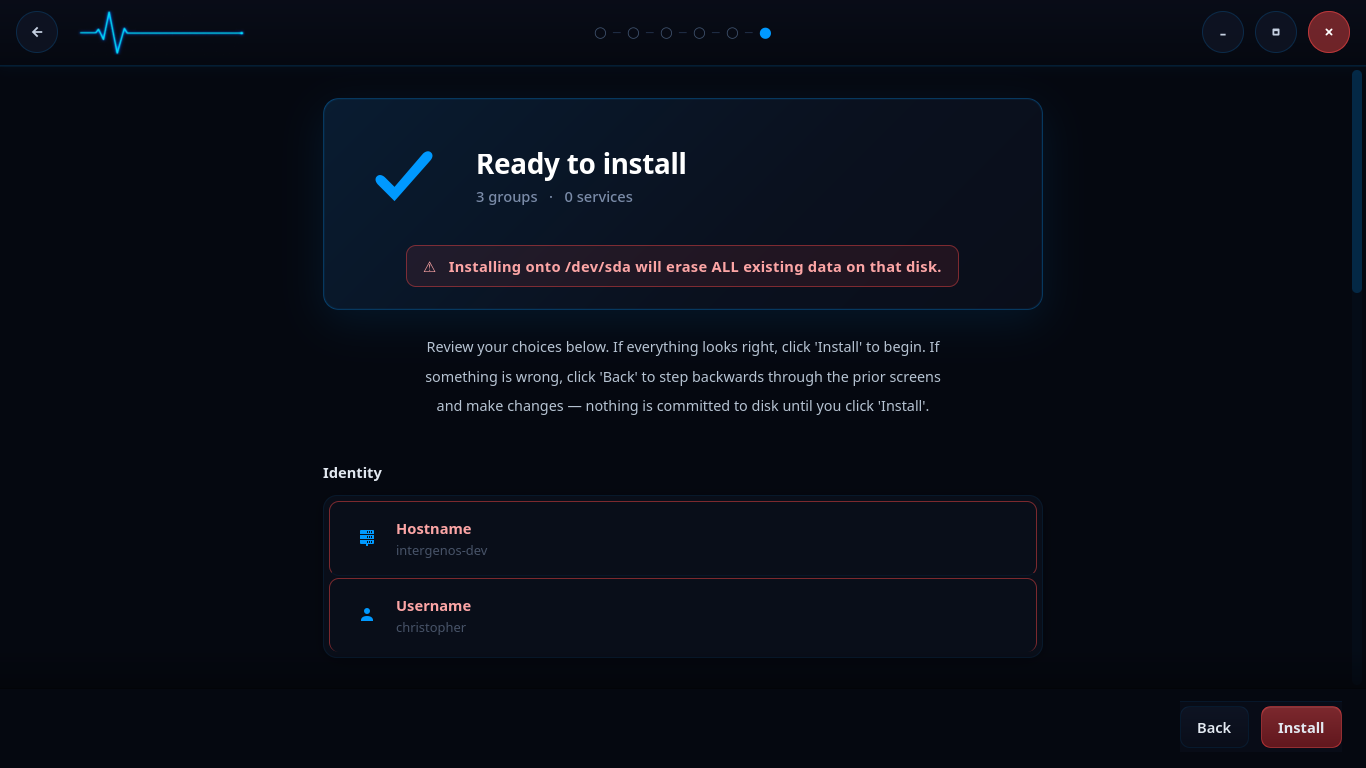
The confirmation screen. Nothing is committed to disk until you click “Install”.
This is the last screen before any disk writes. A Ready to install summary lists your choices: the package groups and services selected, your hostname, and your username. A red banner repeats the disk-erase warning, naming the target disk explicitly (for example, Installing onto /dev/sda will erase ALL existing data on that disk.).
Review everything. If something is wrong, click Back to step backwards through the prior screens and change it. Nothing is committed to disk until you click Install. When you are ready, click Install to begin.
Step 7 — Installing
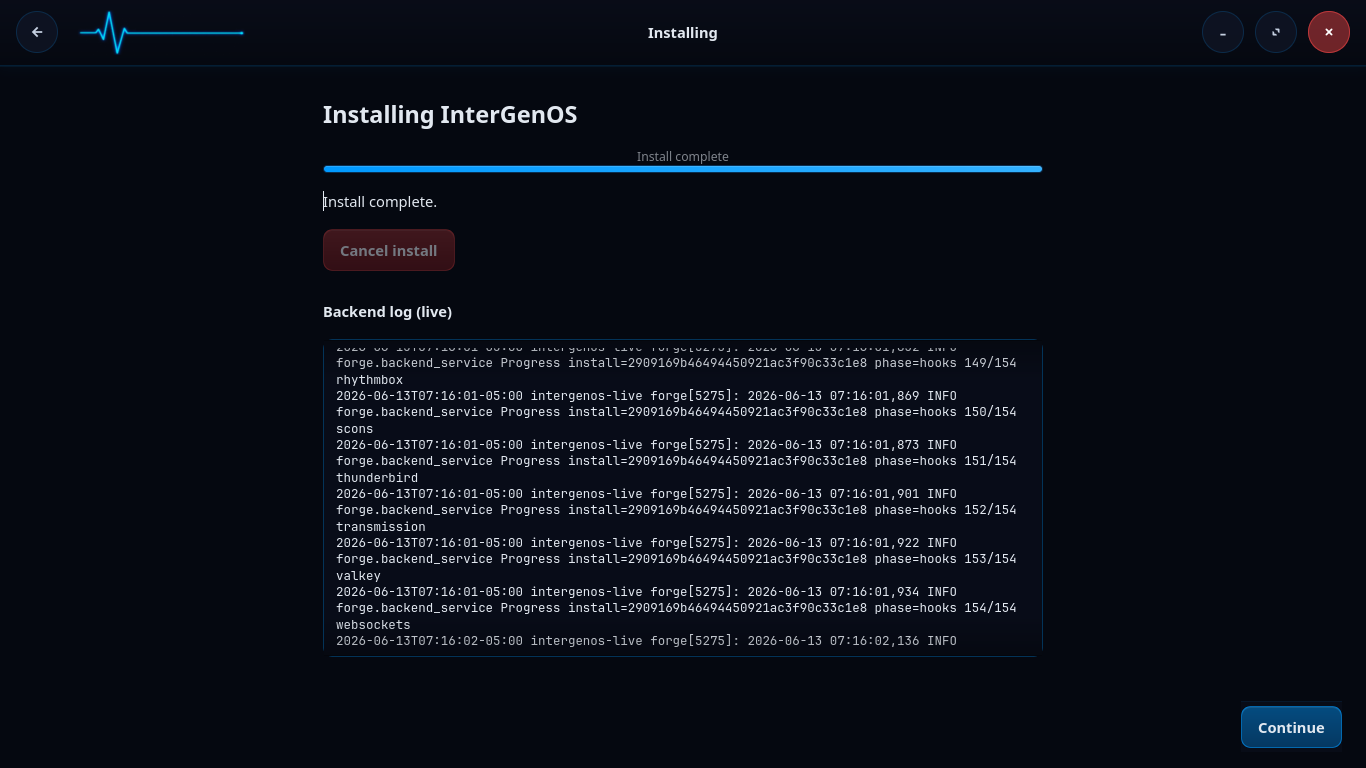
The install runs through its phased pipeline, with a live backend log you can watch.
The install now runs through its pipeline: verifying package integrity, partitioning and formatting the disk, mounting the target, extracting and registering packages, generating configuration, creating accounts, generating the Machine Owner Key and signing the bootloader on EFI systems, running post-install hooks, enabling services, and cleaning up. A failure halts the pipeline, performs best-effort unmounts, and surfaces the exact point of failure rather than leaving you guessing.
A progress bar tracks overall completion, and a Backend log (live) panel streams the install as it happens, including the per-package hook progress (for example, phase=hooks 150/154). If you need to abort, Cancel install is available. When the log reads Install complete, click Continue.
Step 8 — Install complete
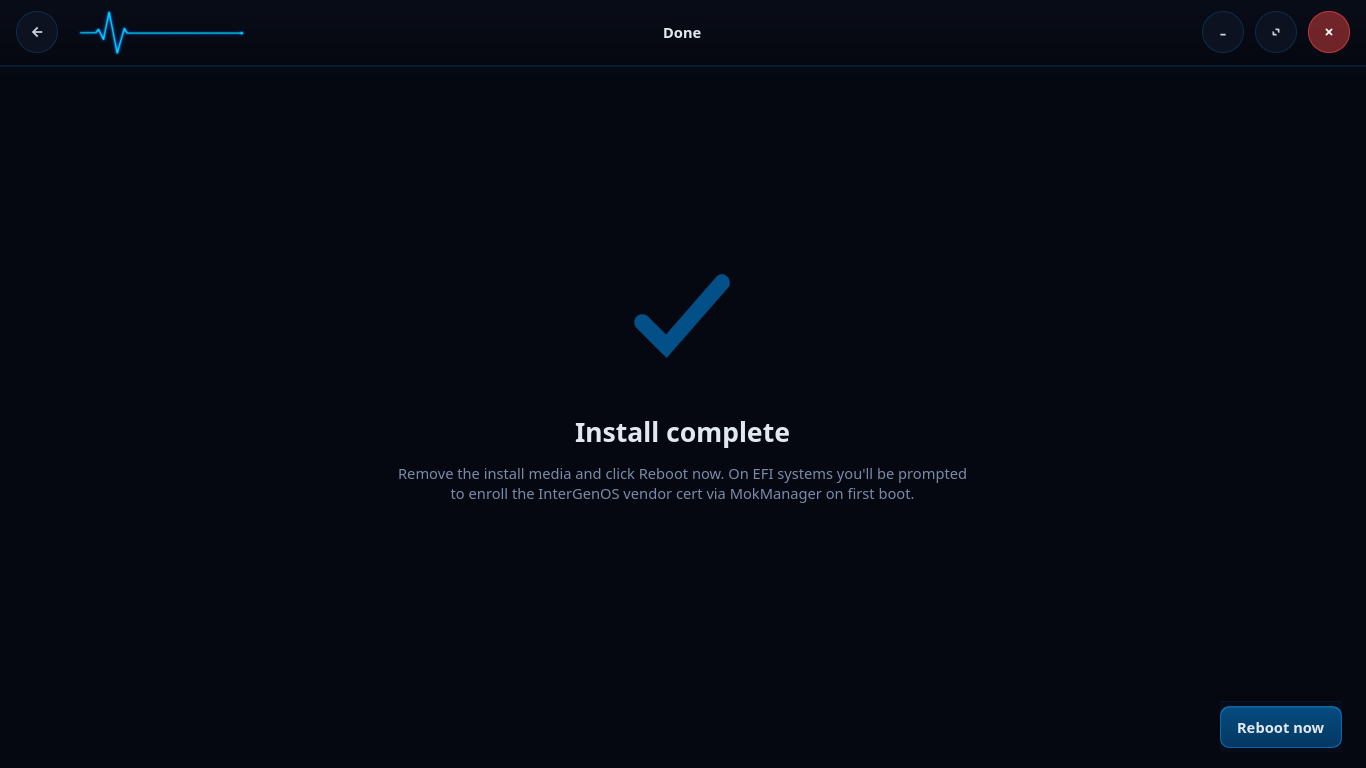
Installation finished. Remove the install media and reboot.
InterGenOS is installed. Remove the install media and click Reboot now.
On EFI systems, you are prompted to enroll the InterGenOS vendor certificate via MokManager on the first boot. This is where the MOK enrollment password you set in Step 4 is used. If you set one, have it ready; if you skipped it, you can enroll later with mokutil. For the MokManager prompts and the recovery procedure, see the first-boot walkthrough.
What FORGE installs
This release is InterGenOS 1.0-dev (build id v1.0-dev1). A completed install gives you:
- pkm, the package manager, for adding and removing software afterward.
- GNOME 49 on Wayland as the desktop. (KDE/Plasma and switchable desktops are planned, not shipped today.)
- A signed boot chain and UKI signing (Secure Boot enforcement is optional and off by default on the current fleet), plus dm-verity sealing the live install image — the boot-chain protections.
- Optionally, InterGen, the local offline-first assistant, and InterGen Sentinel, a pluggable security scanner that defaults to Local-Rules plus a local Qwen model. Sentinel can be extended with six opt-in cloud providers (Claude (Anthropic), Gemini (Google), Copilot (Microsoft), ChatGPT (OpenAI), Grok (xAI), DeepSeek) through “Phone-A-Friend” (Frontier/Cloud Escalation).