Start Here
Welcome to the InterGenOS End-User Guide. InterGenOS is a Linux distribution built entirely from source, with one purpose behind every default: giving you a machine you understand, can modify, and can trust. Security is not first. It is only.
This guide is written for two kinds of reader, and you can move between them freely:
- End users who want to set up the desktop, manage software, and use the onboard AI assistant.
- Contributors who want to understand how InterGenOS is built and how to work in the source tree.
This page orients you to those tracks and walks you through the first thing you will see on a new install: the Welcome app.
What ships today
InterGenOS is at version 1.0-dev (build id v1.0-dev1), in active pre-1.0 development.
- Desktop: GNOME 49 on Wayland, with the InterGenOS shell theme.
- Built from source: the whole system is compiled from source across six package tiers (toolchain, core, base, desktop, ai, extra). The total is roughly 857 package templates as of this writing; tier counts drift between builds, so treat any number you see as a snapshot, not a fixed promise.
- Package manager:
pkm— install, remove, search, verify, and query dependencies. - Installer: Forge — partitions the disk, deploys the system image, and sets up a signed boot chain you own.
- Trust chain: a signed Secure Boot chain (firmware enforcement is off by default — enable it with a one-time MOK enrollment), dm-verity integrity over the read-only system image, and UKI (unified kernel image) signing. You can verify these yourself.
- InterGen — your onboard AI assistant: tiered, hardware-detected, offline-first, local, with zero telemetry (Qwen models).
- InterGen Sentinel — a pluggable security scanner. The default is local-only (Local-Rules plus Local-Qwen). Six cloud providers are opt-in: Claude (Anthropic), Gemini (Google), Copilot (Microsoft), ChatGPT (OpenAI), Grok (xAI), and DeepSeek. You choose which, if any, reaches across the network.
The desktop ships with GNOME on Wayland today. Switchable desktop environments such as KDE Plasma are planned, not shipped — this guide describes only what is in your hands now.
Guide tracks
| If you want to… | Go to |
|---|---|
| Install InterGenOS on real hardware | The Forge installer guide |
| Set up the desktop and your first-boot choices | This page, then the Desktop guide |
Manage software with pkm | The package manager guide |
| Meet and configure the InterGen assistant | The InterGen guide |
| Understand how InterGenOS is built | The Developer & Contributor guide |
| Get a quick answer | FAQ |
A visual tour of first boot
The first time you log in to a fresh InterGenOS install, the Welcome app opens. It is a short, skippable walk through the choices that make the machine yours: appearance, layout, extensions, shortcuts, services, terminal prompt, and your AI assistant. Nothing here is permanent — every choice can be changed later in Settings, in the Extensions app, in the InterGen app, or by re-running the Welcome app.
Step 1 — Welcome
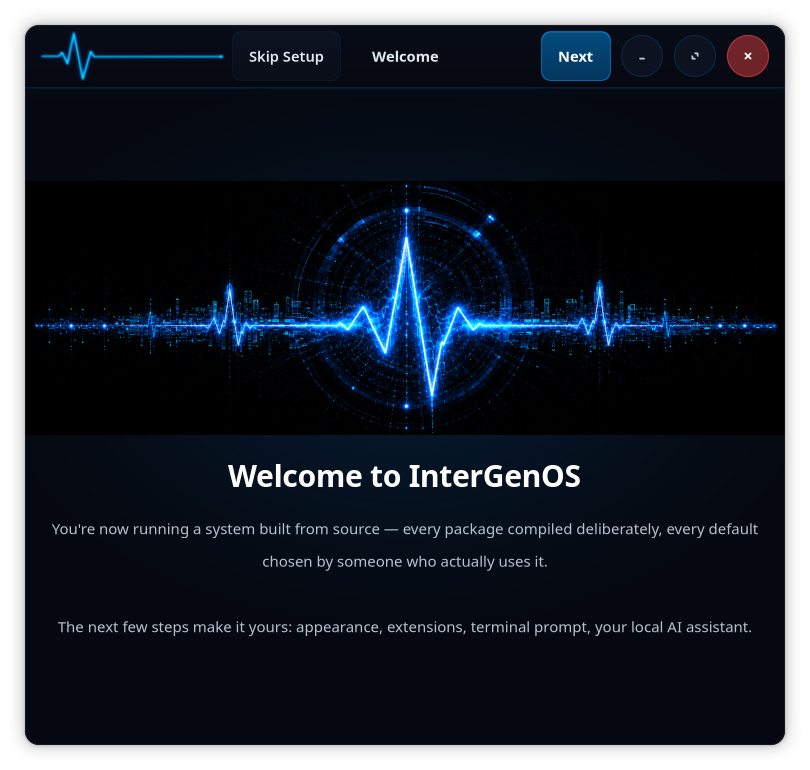
You are now running a system built from source. The next few steps make it yours. A Skip Setup option is available in the top bar if you would rather configure things later.
Step 2 — Choose your look
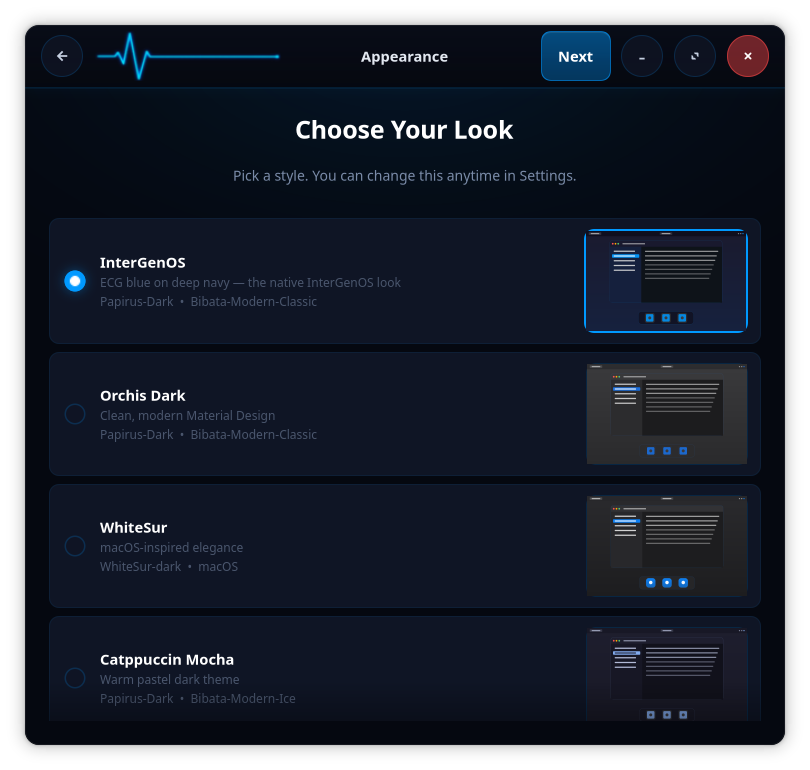
Pick a visual style. The native InterGenOS look (ECG blue on deep navy) is selected by default, with alternates such as Orchis Dark, WhiteSur, and Catppuccin Mocha. Each entry lists the icon and cursor themes it applies. You can change this anytime in Settings.
Step 3 — Choose your layout
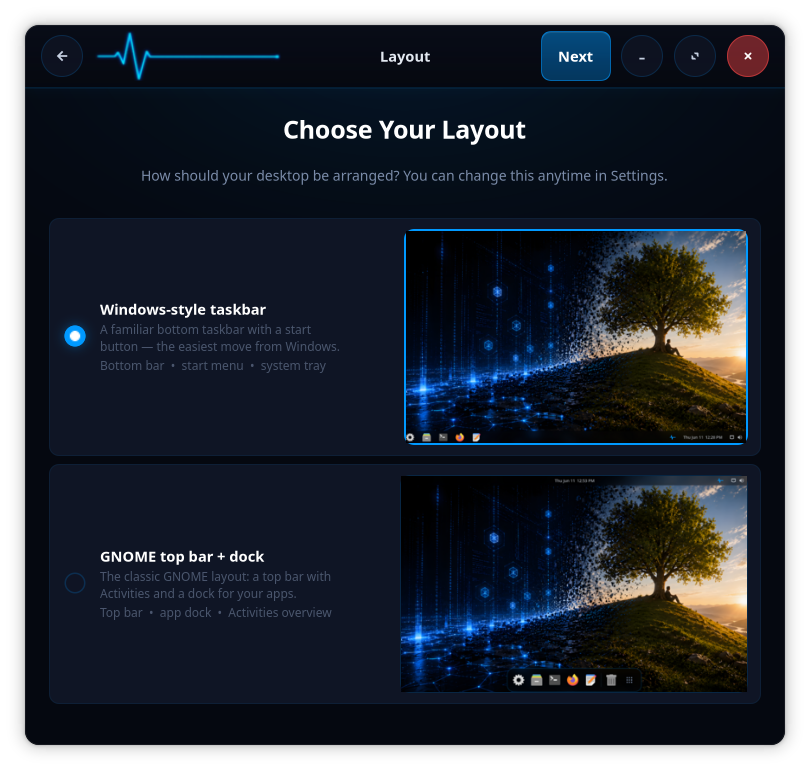
Choose how the desktop is arranged: a Windows-style bottom taskbar with a start menu and system tray, or the classic GNOME top bar plus dock with the Activities overview. This is also changeable later in Settings.
Step 4 — Extensions
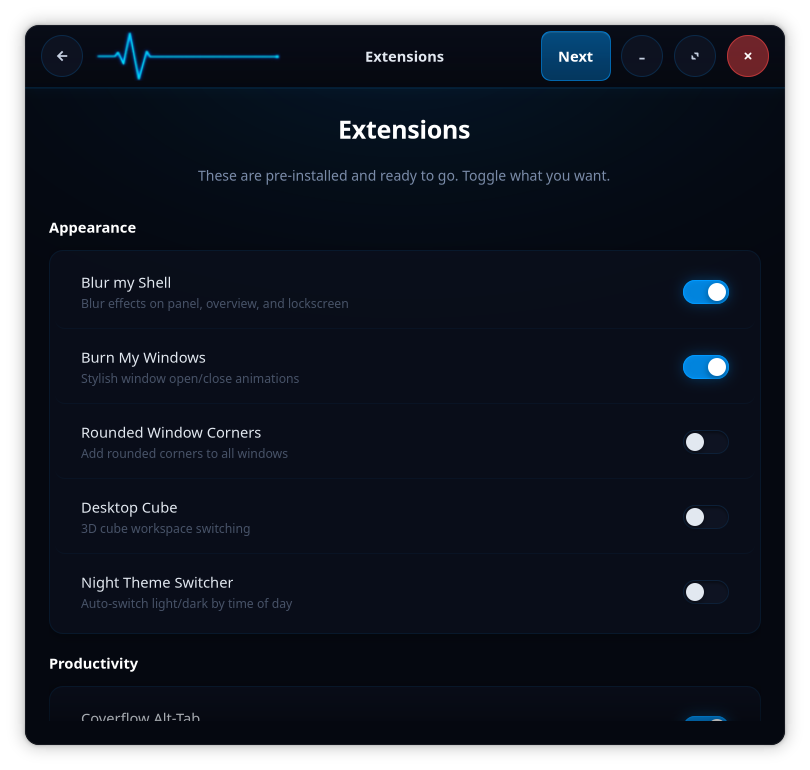
GNOME Shell extensions are pre-installed and ready. Toggle what you want — appearance effects such as Blur my Shell and Burn My Windows, productivity helpers, and more. Everything here is opt-in per toggle.
Step 5 — Keyboard shortcuts
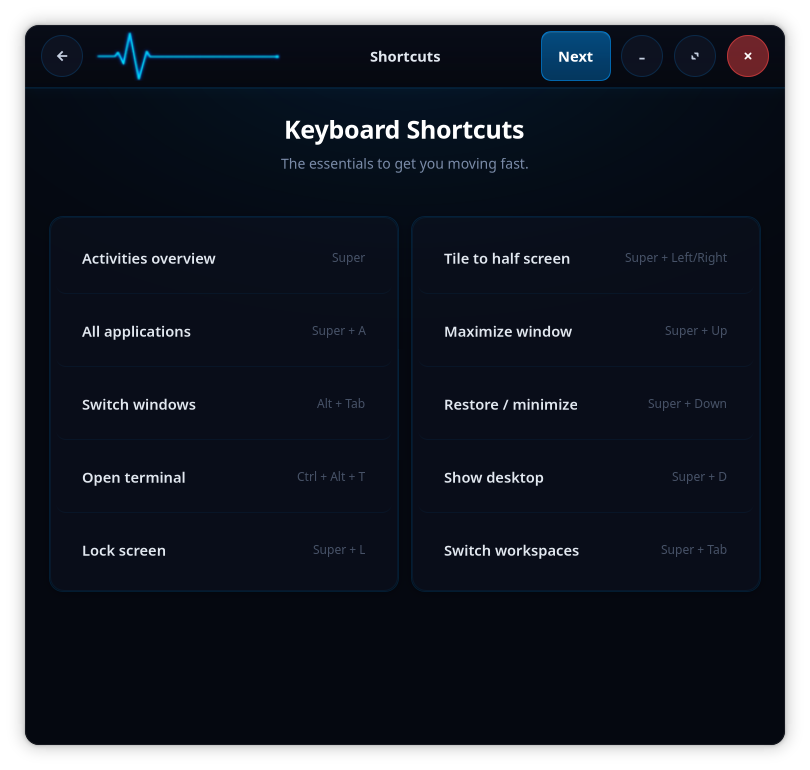
A reference card of the essentials: Activities overview (Super), all applications (Super + A), open terminal (Ctrl + Alt + T), lock screen (Super + L), window tiling, and workspace switching, among others. Worth a glance before you move on.
Step 6 — Enable services
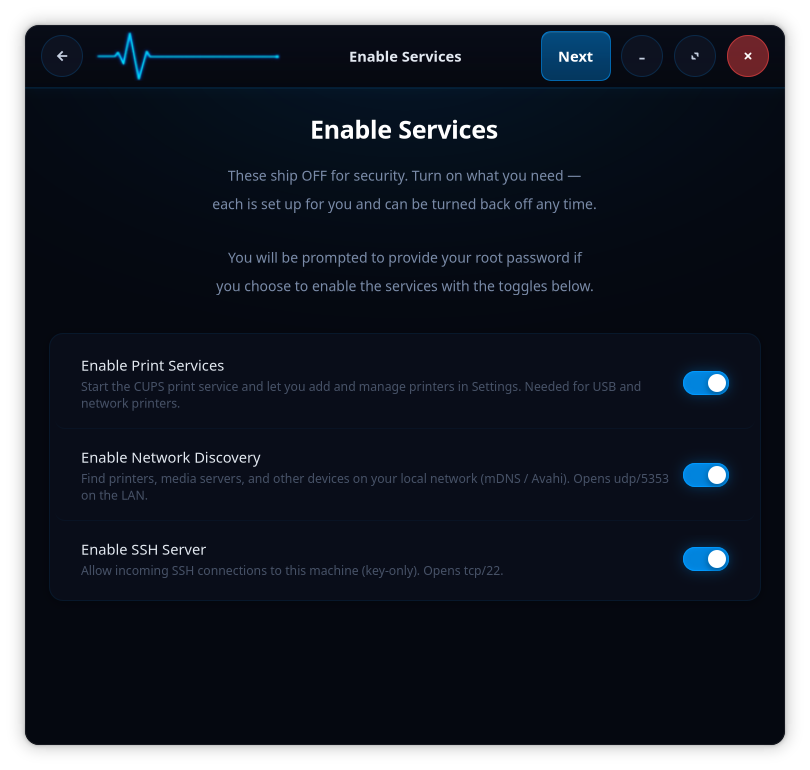
This is the security posture in plain view: these services ship OFF. InterGenOS installs locked down by default. Turn on only what you need — print services (CUPS), local network discovery (mDNS / Avahi, opens udp/5353 on the LAN), and a key-only SSH server (opens tcp/22). You are prompted for your root password when you enable any of them, and each can be turned back off at any time.
Step 7 — Choose your prompt
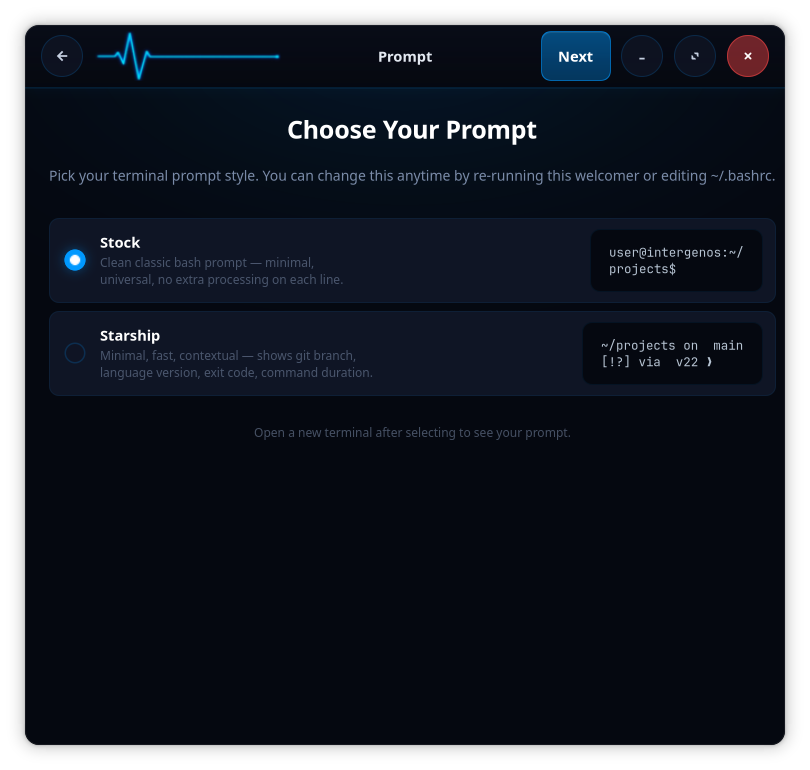
Pick your terminal prompt style: the stock classic bash prompt (minimal, universal, no per-line processing) or Starship (contextual, showing git branch, language version, exit code, and command duration). Open a new terminal after selecting to see it. You can change this later by re-running the Welcome app or editing ~/.bashrc.
Step 8 — Meet InterGen
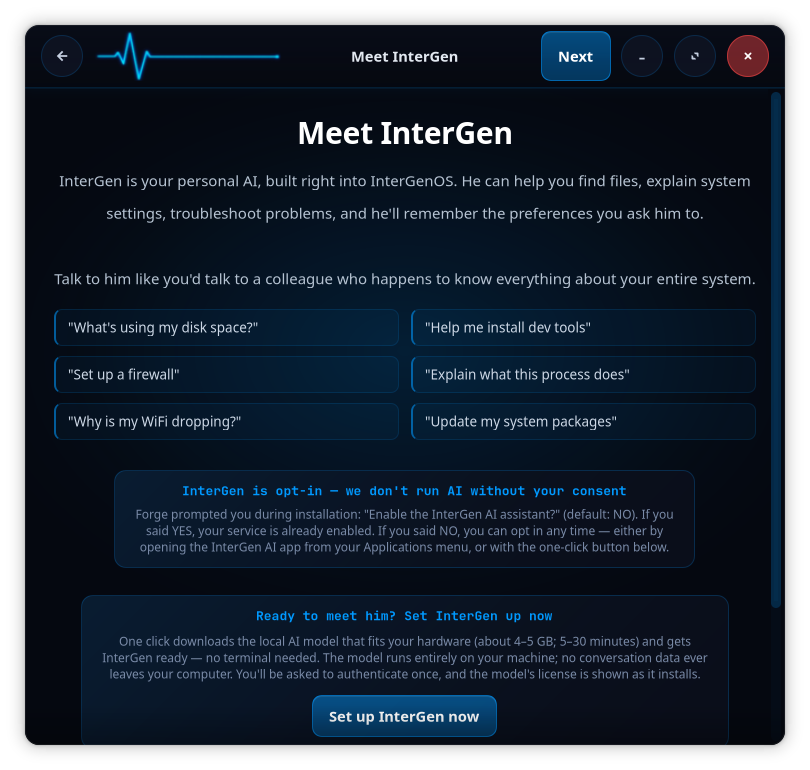
InterGen is your onboard AI assistant, built into InterGenOS. It can help you find files, explain system settings, troubleshoot, and remember the preferences you set. InterGen is opt-in — it does not run without your consent. If you choose Set up InterGen now, Forge downloads the local AI model that fits your hardware (about 1.5 GB for the standard CPU tier, up to ~21 GB for the largest GPU tier) and gets it ready. The model runs entirely on your machine; no conversation data leaves the computer, and the model’s license is shown at install. You can also enable it later from the InterGen app in your Applications menu.
For the assistant’s full capabilities, including the permission model and InterGen Sentinel’s pluggable scanners, see the InterGen guide. Cloud review through any of the six opt-in providers is handled through Phone-A-Friend (Frontier/Cloud Escalation), which never reaches the network unless you choose a provider.
Step 9 — You are part of something
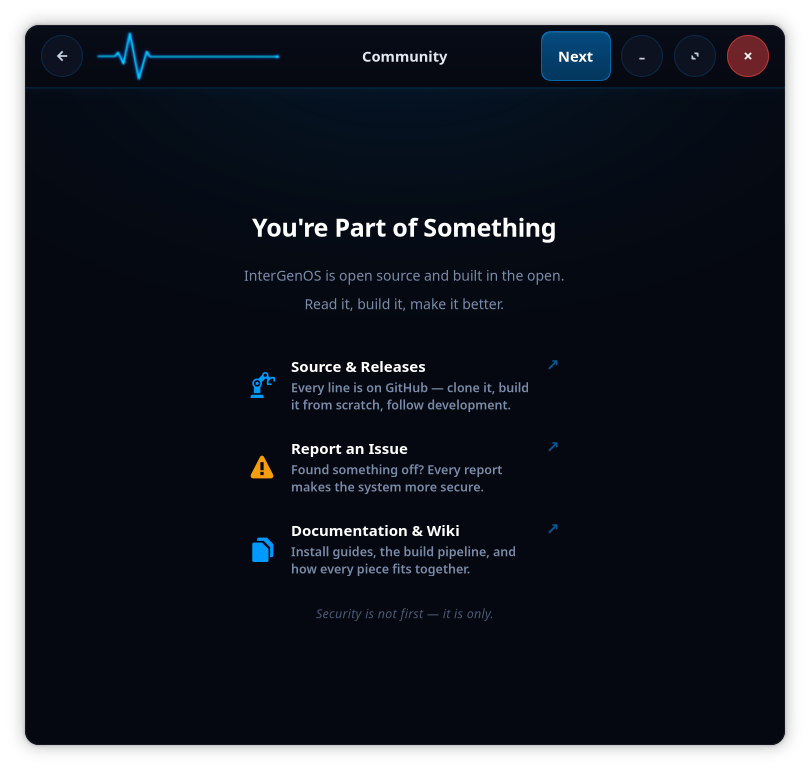
InterGenOS is open source and built in the open: read it, build it, make it better. This step links out to the source and releases, the issue tracker (every report makes the system more secure), and the documentation and wiki.
Step 10 — You are all set
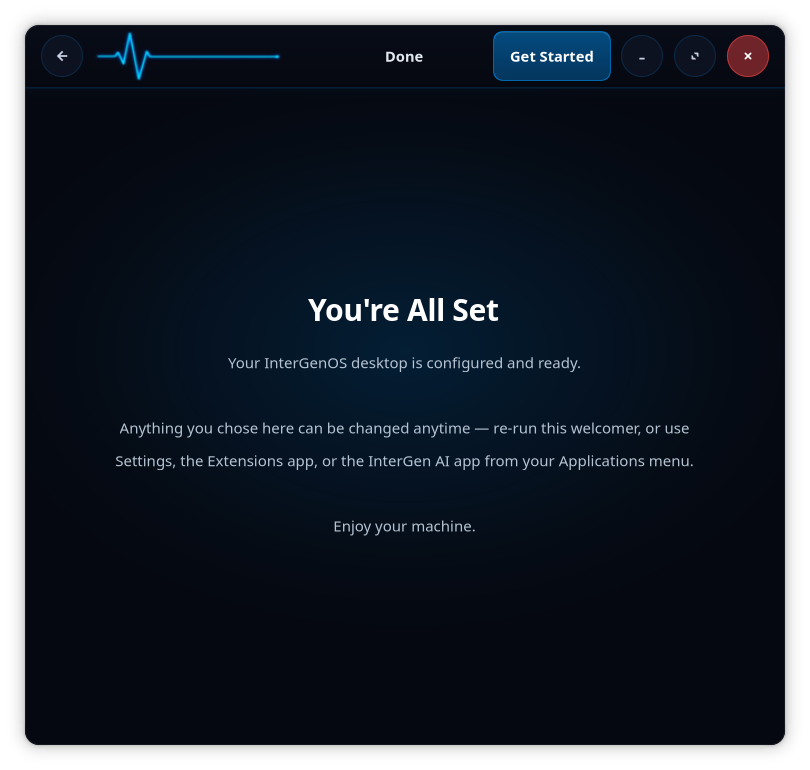
Your desktop is configured and ready. Anything you chose here can be changed anytime — re-run the Welcome app, or use Settings, the Extensions app, or the InterGen AI app from your Applications menu. Choose Get Started and the machine is yours.
Where to go next
- New to the desktop? Continue to the Desktop guide.
- Installing on hardware? Start with the Forge installer guide.
- Want software? See the package manager guide.
- Curious how it is all built? The Developer & Contributor guide covers the from-source lifecycle, signing, and the rules that decide what ships.
A machine you understand, can modify, and can trust. That is the whole point.